


To start...this little girl is just adorable...so that is where the picture begins its journey to greatness. (ha!) The picture started out with a cute expression, and good focus, but the color was a little gray. (Blah) I shoot in raw, so I can adjust the color before I even get started on editing the jpeg image. Though on this particular shot I just started with it straight out of the camera.
So I used CoffeeShop (free!) color pop action. There are several choices from decaf to triple shot. On this picture I used double shot color pop.

I basically just follwed the steps and clicked okay a lot. I adjusted a few things here and there after I had run the action once. But that would just depend upon your individual picture and the look you are going for.


Once I flattened the layers I then ran a free portrait pop action. (If you click on the link, scroll down to portrait pop) It works on the eyes and anything else you would really like to stand out. (Eyelashes, eyebrows, lips, hair etc.)

On this action you can adjust how much you want the high pass to affect your picture, the action automatically suggests between 5-20. If I only have one person in the picture (and the eyes are a large part of it) I typically use a higher number, closer to 20. I think I used a 19 on this.

I like to use a soft brush that is just a bit smaller than the section I am using it on. (In this action you use a white brush and you can adjust the opacity to your liking. I used it at 100% and typically do for kids. On adults (if I use the action) it seems like it has to be brough down to around 50% opacity.)
I then flattened the image again and saved as a JPEG.
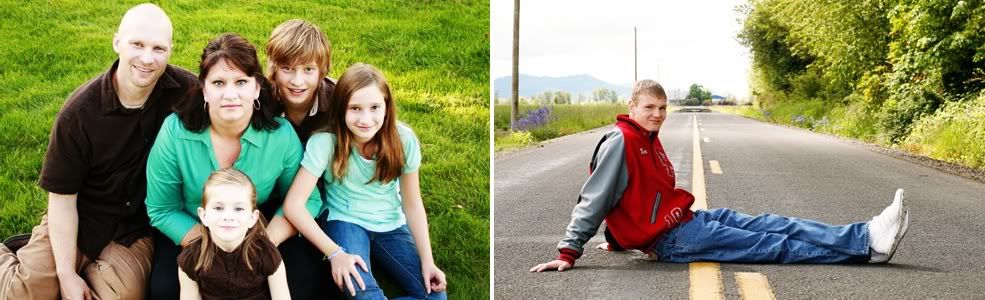
The original picture, straight out of the camera is on the left, the edited picture is on the right.

Here is the final shot....

0 comments:
Post a Comment